













Technical Specifications
| Parameter | Value |
|---|---|
| Outer diameter | 150 mm |
| Bore diameter (shaft) | 14 mm |
| Mounting type | flat (D-cut), no keyway |
| Hub height / thickness | 32 mm |
| Material | impact-resistant plastic (polypropylene/ABS) |
| Rotation direction | clockwise (standard; verify against the old part’s marking) |
| Cooling type | axial flow, forced draft over cylinder fins |
| Operating temperature | up to +90…100°C |
| Compatibility | piston compressors whose motor shaft has a 14mm diameter with a flat matching the impeller bore |
💡 Expert tip: “Before ordering, always measure the old impeller with calipers at three points: outer diameter, bore diameter, and hub height. Even a 2–3mm difference in hub diameter often means the part physically won’t fit the shaft, or will sit loose” — Vitalie Boluchevschi, Chief Engineer at Acvatron SRL.
Design Features
- The blade aerodynamic profile mirrors the geometry of factory impellers in this size class, preserving stock airflow performance.
- The flat on the bore prevents the impeller from spinning freely on the shaft during start-up and reversing loads typical of single-phase asynchronous compressor motors.
- The thicker hub (32mm) reduces the risk of cracking at the mounting boss when the retaining screw/nut is tightened — a common failure point on thinner-walled equivalents.
- The material withstands vibration and moderate heat from the compressor housing without deforming over long-term use.
Installation Guidelines
- Disconnect the compressor from power and let it cool completely.
- Remove the fan guard/shroud (usually held by 3–4 screws).
- Unscrew the retaining screw/nut on the old impeller and carefully pull it off the shaft — if it’s seized, use a puller rather than levering on the blades.
- Clean the shaft of old grease, rust, and dust, and check for play or radial wobble.
- Fit the new impeller so the flat in the bore lines up exactly with the flat on the shaft — it should seat with light resistance and no gap.
- Tighten the retaining fastener to a moderate torque (don’t overtighten — the plastic hub can crack).
- Reinstall the guard and rotate the impeller by hand — it should spin freely without touching the shroud.
- Run the compressor for 1–2 minutes unloaded and confirm there’s no abnormal noise or vibration.
Compatibility and Equivalents
| Impeller diameter | Bore | Hub height | Approximate application |
|---|---|---|---|
| D-115 mm | 14 mm, flat | ~30 mm | Парма K-1500/24VM-type compressors and analogues |
| D-135 mm | 14 mm, flat | 25 mm | small-power household compressors |
| D-150 mm | 14 mm, flat | 32 mm | mid-power compressors (this listing) |
⚠️ A warning about mix-ups when ordering. Compressor fan impellers are specified by three independent parameters — outer diameter (D), shaft bore diameter (d), and hub height — and outwardly similar parts (for example D-137 vs D-150 mm) may not fit the same compressor’s shaft. Another frequent mistake is confusing a flat (D-cut) bore with a circlip-groove bore: the openings look almost identical, but the retention method is completely different, and a groove-type impeller will not lock onto a flat-cut shaft. Always check not just the diameter but also the mounting type and hub height.
Common Installation Mistakes
- Fitting the impeller without checking that the shaft flat and hub flat line up — causes slipping and knocking noise on startup.
- Over-tightening the retaining nut — cracks the plastic hub, especially in cold, unheated storage conditions.
- Ignoring rotation direction — installing a “mirrored” impeller sharply reduces radiator airflow, and the compressor can overheat within 15–20 minutes of running.
- Buying based on a photo alone, without measuring with calipers — the most common cause of returns.
- Running the compressor “as a test” without the fan guard installed — hazardous, and doesn’t give an accurate read on actual airflow.
Practical Application Examples
- Replacing an original impeller that has cracked with age on a garage or workshop compressor after 3–5 years of use.
- Repairing a compressor after mechanical damage to the impeller (foreign object ingress, broken blade).
- Scheduled maintenance ahead of a season of intensive use (spray painting jobs, pneumatic tools at an auto shop).
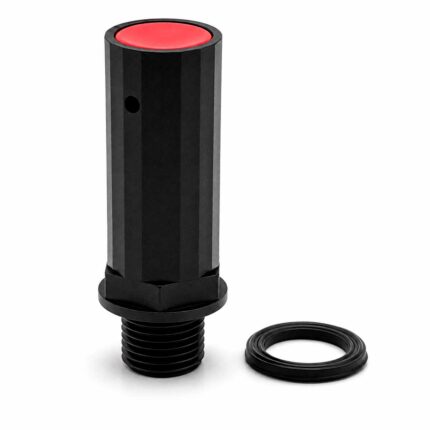
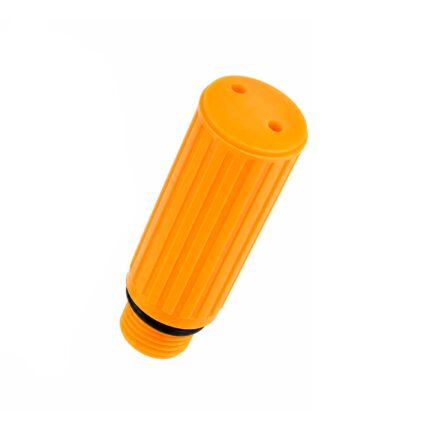
- Replacement during a full compressor overhaul alongside a repair kit (valve plate, piston rings, breather valve).
Expert Opinion
“The cooling fan impeller is often underestimated — customers bring in an overheating compressor and blame the pump, when the real cause is that half the fan blades have snapped off and airflow is almost zero. Replacing the impeller takes about 15 minutes and is one of the cheapest preventive measures that genuinely extends the life of the motor and valve assembly,” notes Vitalie Boluchevschi, Chief Engineer at Acvatron SRL.
FAQ
Will this impeller fit a shaft with a keyway? No. This model is designed strictly for a flat (D-cut) shaft. A shaft with a keyway requires a different variant — send a photo or the old sample for confirmation.
What if the old impeller is destroyed and there’s nothing to measure? Measure the bore diameter directly on the motor shaft itself, and measure the available hub space height — that’s enough to select the correct part.
Can I use a metal impeller instead of plastic for extra durability? Most household compressors use plastic as standard — it’s lighter, doesn’t overload the shaft, and won’t spark if it accidentally contacts the shroud. Metal is only justified on industrial units with a different assembly design.
How do I determine the rotation direction before installing? Check the blade curvature on the old part, or look for an arrow on the motor housing indicating airflow direction.








Reviews
Clear filtersThere are no reviews yet.